Throwing on the Wheel
Get ready to make something COOL!
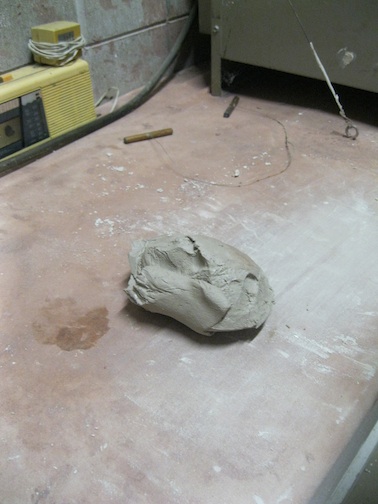
It all begins with a hunk of clay. Imagine the possibilities!
Wedging
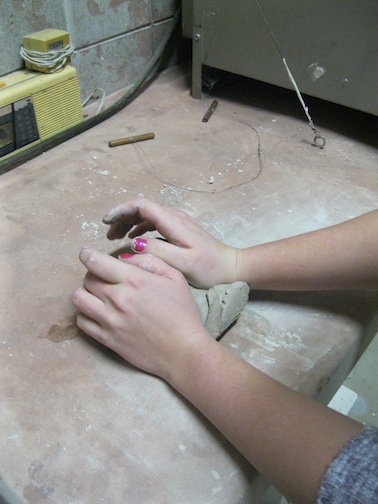
Wedging the clay is the process of pressing out any air bubbles from the clay. Failure to remove any air pockets could result in an annoying glitch in your wheel throwing experience.
Get Set….
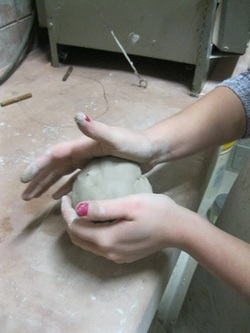
The clay is patted into a ball once the wedging is done.
Go!
The clay is firmly smacked down into the center of the wheel.
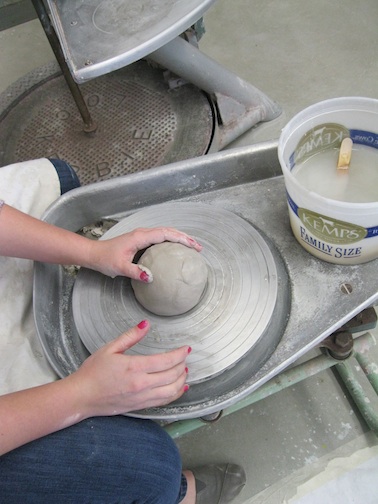
Centering
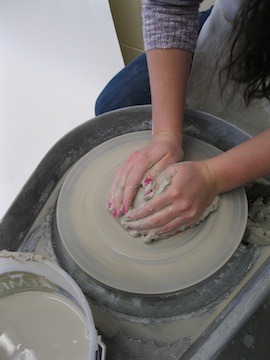
Centering the clay is a very important step and one that largely determines the success of the piece. The potter must brace their arms and firmly place pressure on the clay so that it is perfectly centered on the wheel. If the potter has done it correctly, the clay will appear to be holding still even though the wheel is spinning at a rapid pace.
Opening
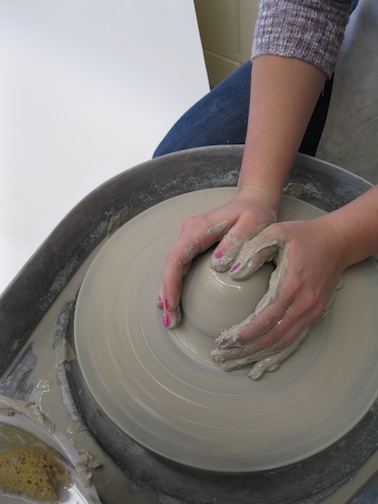
Once the clay has been centered, the potter begins to open the piece up by pressing their thumbs down into the center of the clay while the wheel is spinning.
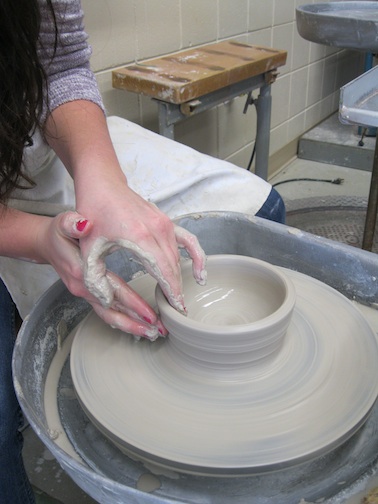
Pulling

Using pressure both inside and outside of the piece, the potter pulls the walls out to begin establishing size.
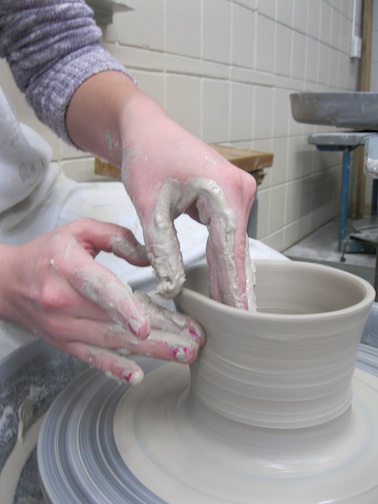
Thinning
Once the walls have been opened up enough, the potter can begin to thin out the clay and add height to the piece. The middle and index finger on both hands brace each other with only the clay wall separating them and the fingers slowly slide up both sides together to thin and heighten.
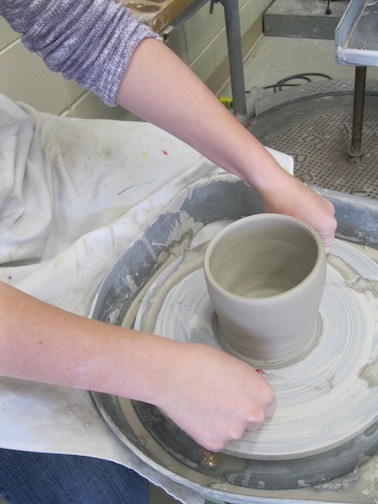
Shape
The piece is shaped and the walls are again thinned by the fingers bracing up both sides of the clay wall.
Ridge
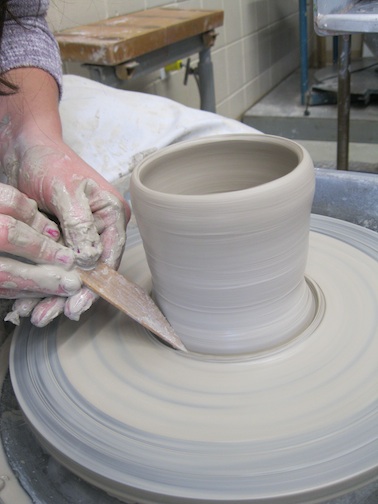
A ridge is established by taking a clay tool and scraping away the excess clay gathered at the base. This will help to make a clean cut when the piece is removed from the wheel.
Remove
Using a wire held tautly at the base, the potter slides it beneath the clay to release it from the wheel.
Voila!
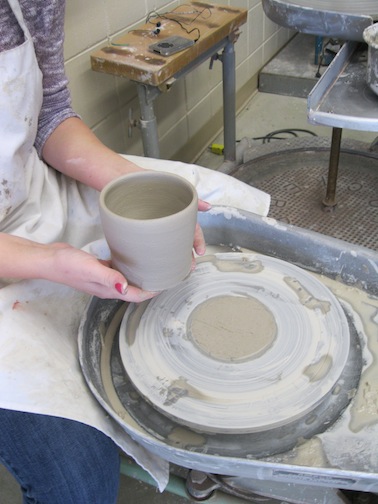
Well, we're not quite done yet. The piece must be allowed to firm up a bit before the foot is trimmed.
Foot
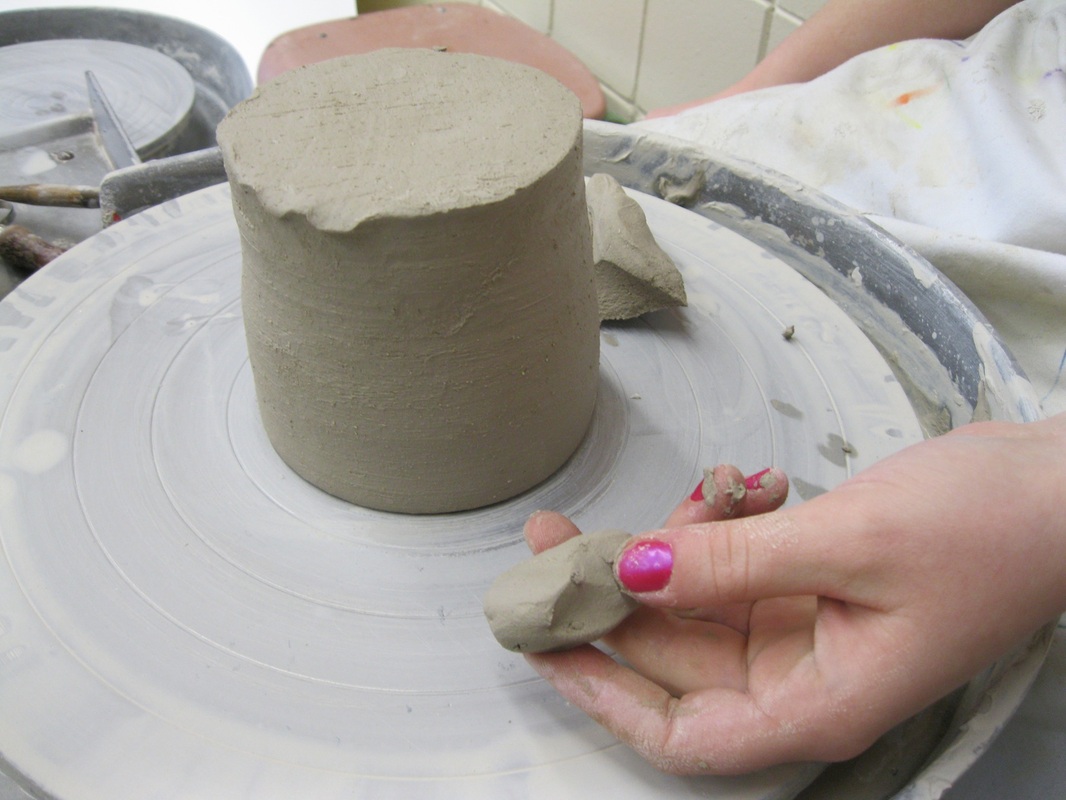
To carve the foot in the bottom, the potter places their piece upside down on the wheel. Hunks of clay are placed around the pot to hold it still in the center.
Edge

Using a sculpting tool, the potter cleans up the edge of the base by spinning the wheel and allowing the edge to be peeled away in ribbon-like strands.
Base

The base is then peeled away beginning at the center and working out toward the edge. This creates a neat and polished base to the piece.
After the above steps are taken, the piece must be thoroughly dried before it is fired in the kiln in a bisque firing. After the bisque firing, the potter can glaze their piece and put it through a glaze firing.
